As with all of the Kyber Cup battle reports, should my opponent be willing to have a battle report uploaded, I won’t go into any introductory theory with my list. Instead, I shall in brief present my game with GamblerTuba of the United States. His list is as follows:
Merl Cobben (32)
Ship total: 32 Half Points: 16 Threshold: 2
Blue Squadron Rookie (41)
BB Astromech (1)
Integrated S-Foils (0)
Ship total: 42 Half Points: 21 Threshold: 4
Blue Squadron Rookie (41)
BB Astromech (1)
Integrated S-Foils (0)
Ship total: 42 Half Points: 21 Threshold: 4
Blue Squadron Rookie (41)
BB Astromech (1)
Integrated S-Foils (0)
Ship total: 42 Half Points: 21 Threshold: 4
Blue Squadron Rookie (41)
BB Astromech (1)
Integrated S-Foils (0)
Ship total: 42 Half Points: 21 Threshold: 4
Total: 200
View in Yet Another Squad Builder 2.0: https://raithos.github.io/?f=Resistance&d=v8ZsZ200Z444XWWY258X196WWW175WWY258X196WWW175WWY258X196WWW175WWY258X196WWW175WW&sn=Unnamed%20Squadron&obs=

Given that GamblerTuba’s list has mobility, jousting potential in spades, a lot of health, and the ability to cover a wide net with its firing arcs, I have decided to try a little gambit. Instead of having Kylo and Quickdraw face the swarm from opposite ends alone, waiting for said swarm to make the first move, the courier will be directly involved. If I engineer the engagement properly, there will be a range dodge of the outside arc with the shuttle if it cuts in at just the right time. I didn’t know the exact math in the moment, but even if the courier is modless against 3 modded T70 attacks and 1 modded A-Wing attack, it is more likely than not to survive (assuming that there is a Range 3 bonus involved from the 2nd to the back one, I checked the math after the game to be 78%).
But why this reckless gamble of the shuttle? At best I’ll get 2 Terrex calculates and only if very lucky, 3. No jam functions! Because I have placed obstacle 5 incorrectly during setup. Instead of placing the gas cloud in the upper middle of the board, I should have placed it beneath the asteroid colloquially known as “the middle finger”. As such, with GamblerTuba claiming the clear corner, if I don’t want to setup directly opposite of him, I have the splitting obstacles on my end. This is a critical Turn 0 error of only 1 obstacle that I painfully realized as soon as the colloquially known “Sorting Hat” gas cloud. So now with the clear field, GamblerTuba has the better besieging position against a brawler that attempts to ace with Afterburners; any pre-maneuver reposition from Quickdraw is strictly a barrel roll from coordinate, whose lanes are limited by board space. To expand out of that position on my end would be either foolhardy or constrained out of effectivity. And all of this would be at late time in the game, which isn’t bad in itself, but bad in this instance because I hadn’t used that time to properly develop my gamestate.

Thus, not only do 78% chances of getting a shuttle to perform at least 2 support turns for Quickdraw look better compared to the other options that I have foolhardy locked myself out of, but there are additional bonuses. Quickdraw can play far more aggressively in the opening and get some free shots before moving off. And if I do get that 2nd turn of combat from the shuttle, then the extra aggro drawing of its presence, especially if at a different location than Quickdraw, would draw even more heat off my damage dealers. Although 2 Terrex calculates would be a new record for how few calculates I have pulled off with this list, it might be a salvaging of my bad setup.

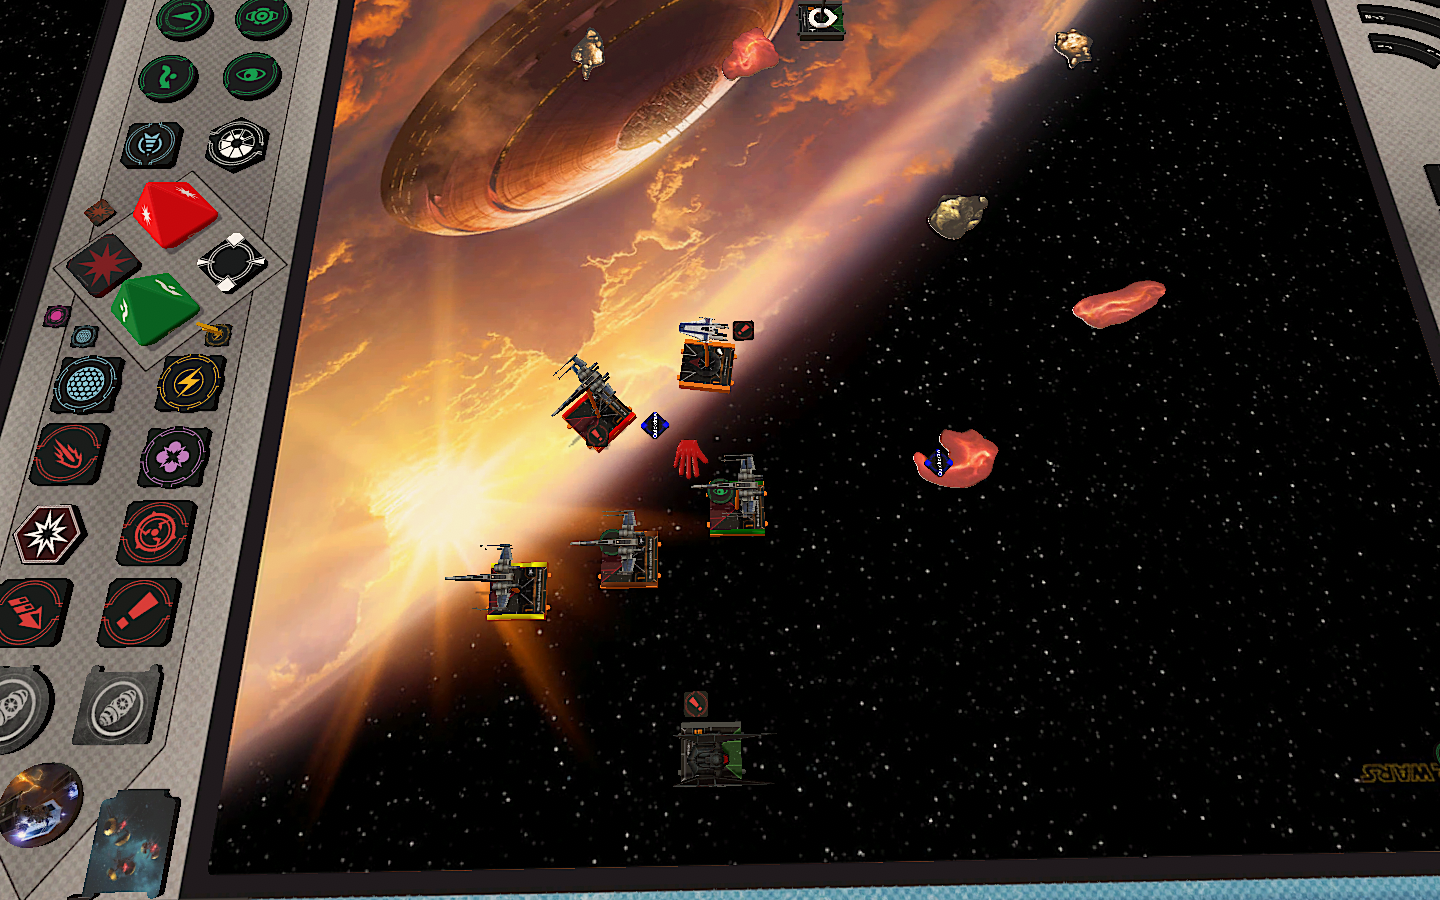
With the incoming Resistance formation assumingly casting a wide net for Quickdraw, the courier’s coordinated roll, in junction with the Afterburners boost, allow her to escape most of the danger while swiveling her turret backward. The token stack mean that should GamblerTuba try his luck on the TIE/SF, not much damage would be dealt while the courier would have less heat on him. The First Order plink chip damage into the Red and Green X-Wings, even stripping the focus off the latter. But alas! Despite bettering the odds of the courier’s survival to (checked during the writing of this batrep) 90%, the courier and his near-T70 durability are lost in a massive explosion!

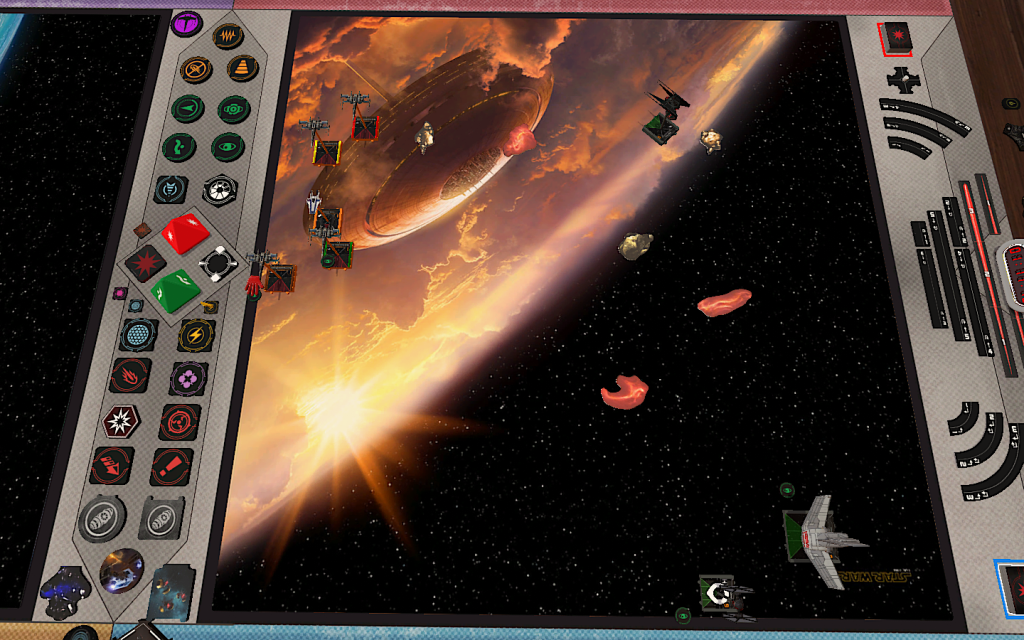
Well, forget the shenanigans that the 2 bank starboard would have had with the coordinate (the screenshot was at a bad angle as a result of the wonkiness of the Xi-model) before a Segnor’s Loop from Quickdraw to be gifted a calculate. Instead, once again I have a rather ordinary Quickdraw suffering from her pre-Wave 7 green token anemia. As such, I play it safe with her and just zoom off from the inevitably red-maneuvering Resistance squadron. Taking the lock primes Fire Control System for later on Red, and her position can pose as bait to draw fire from Kylo; some of the X-Wings are out of range of her and thus some of the fire will go to Kylo. Needing to deal damage yet not take any in return, Kylo’s only action is focus. Saving all 3 of his mods for defense, he very fortunately takes no damage. True, the shots were unmodded, but with enough of them stacked, and the odds of losing at least a shield were a rather high 57%.

Whereas Extreme Maneuvers were an insurance policy that allowed Kylo to both setup the attempted bait and escape from danger should it be bitten, it is here they demonstrate the slipperiness of a Daredevil TIE/BA but on a superior chassis with force. The 5-forward can be blocked, but there’s also the possibility that Kylo can just turn 1 hard starboard and roll away or slowly bank in to the fight to get blocked or knife-fight. True, a block most certainly helps GamblerTuba far more than the sacrificed shot helps me, but there are so many options here and covering too many possibilities will weaken what remaining shots he has on my Kylo. True, it is probably that I got lucky in this guessing game, but I’ll run with it. Also a bonus that Extreme Kylo has over stock: you can face the board edge in an escape and not be locked into the 1 hard the following turn and thus cornered. The free turn saved from the 90* boost buys you time.

In the event that GamblerTuba tries to block the 2 turn in–stock Kylo’s only vector of approach–I dial in the 2 bank portside. Not only is this literally unblockable even with the presence of BB droids, but using Extreme Maneuvers at the end of that offer a way back into the fight. Seeing all the X-Wings instead K-turn, I play it safe and abscond after taking the lock action on Green, taking only an unmodded Range 3 shot.
Eager to get fully modded shots in, I focused before Extreme Maneuvering with Kylo, though the correct move was to Extreme Maneuver and then roll out upon that position in front of the gas cloud. I was too greedy for mods, and I realized that my position suffered for it once I had finished the turn boost; it is still clear that I can’t judge distances in-game on Tabletop Simulator. Chip damage is scored, but a formation is poised to strike at Kylo with no repositions next turn.

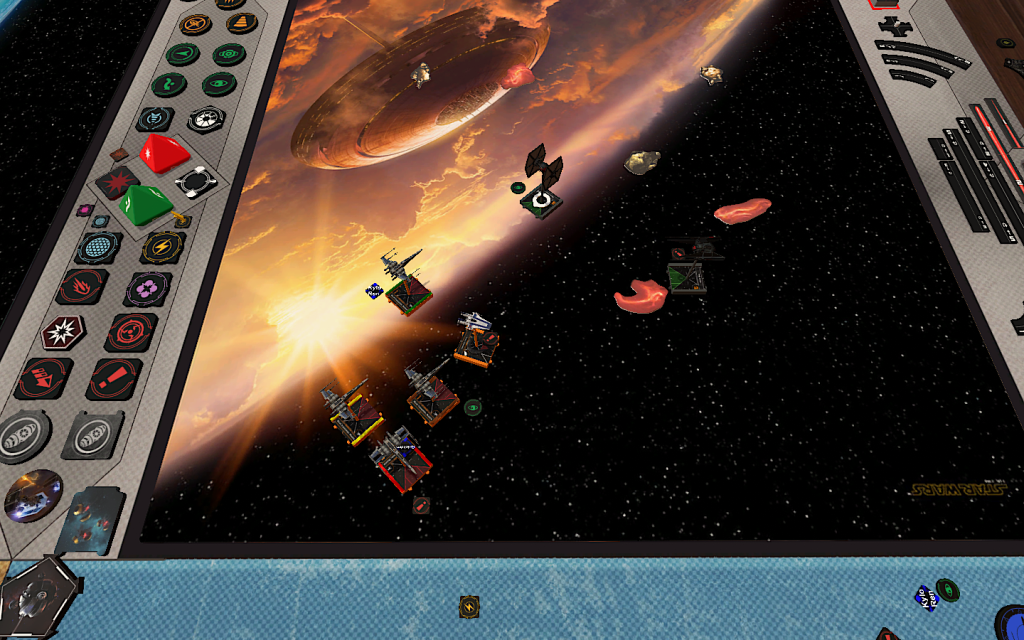
Expecting GamblerTuba to call a maneuver that would put as much distance between Kylo and the formation as possible or to hopelessly attempt to overshoot it (those maneuvers being the 2-hard and the 5-forward), I turn portside in through the gas cloud. I don’t like the possibility of getting strained, but that’s surely better than blocked by Merl and strained. Perhaps I made a good analysis of the boardstate and what we wanted out of it and thus was able to escape taking only a shield of damage, but green dice and what GamblerTuba had called in the 33-33-33 had a say in it. Quickdraw doesn’t even get shot at, with her sights lined up on the wounded Red.

Extreme Maneuvers may be neat for knife-fighting or escaping troubling situations, but they still can be blocked without help. I miscalled Red’s maneuver, and thus Kylo endures 2 shots. But why be good when you can be lucky? While I do not pay getting blocked and caught, Quickdraw suffers 2 shields of damage from Orange, slugging some extra damage.
The turn following the one above depicted, the X-Wings and Merl cluster around Quickdraw to either pursue a disengage maneuver or to block a blue maneuver. Seeing no escape from this situation and not seeing much value in the possibility of having my 1 bank and rear gun shenanigans blocked, I 2-turned into the inevitable block to trade Quickdraw. She lowers Green to half health with both her shots, while Kylo’s turn + Extreme boost allow him to luckily snipe Yellow to half health. In case my level of stress hasn’t been indicated by the draining clock, I am characteristically forgetting to take screenshots.

The 2 bank starboard the following turn was hoped to springboard some aggression. However, seeing as both Merl and Rust want to engage in a fight there, the best option is to not use Extreme Maneuvers and instead disengage to safety behind the cloud. That doesn’t mean that the upgrade didn’t have value this turn, far from it. I can keep dialing in maneuvers that are poised to disengage and otherwise wouldn’t have time on target, and if the situation permits it, I can use Extreme Maneuvers to engage and deal some damage. This powerslide out of reach makes my engagement routes far more difficult to block and thwart than had I been using stock Kylo and a deeper bid.

Case in point, I yet again dialed the 2 bank with Kylo, far too shallow a maneuver without the force power. But focusing with autothrusters into the boost snags Merl (without the bullseye) and brings him down to half points! Finishing off Green or Yellow gains me the lead!

Wise to my fast maneuver+boost shenanigans, GamblerTuba sets up a killbox with his arcs so as to finish off Kylo once and for all with any normal engagement routes or even fast disengage routes. But it appears that the 2 bank not only lines a fully modded killshot on Green should it be boosted from, but only a Range 3 shot in return has arc on Kylo! With just under 7 minutes left in the game, I have gained the lead, albeit one in a fragile state.

But I hadn’t thought this situation well enough. So desperate as to not get blocked, Kylo is caught in 2 arcs. Sure, they’re modless from the K-turn and from clipping the cloud, but there still is a chance that damage gets inflicted and I yield another 40 points of MOV. Fortunately, the defensive mods hold the turn following the lead change. After that, Kylo dodges arcs into a corner, and on the final turn, he takes a damage from a lone Range 3 shot modded with a lock. 121 – 112 victory.

Despite the dice stats saying otherwise, luck was a very large part in me squeaking the slim victory. What those counts fail to represent are those circumstances of clutch results coming through, be they weak results for that shot on your opponents end or you just barely having enough to deal the damage or evade it on your end. More to the point, as with round 1 in this Kyber Cup, I have yet again setup poorly and paid for it. True, the 7% chance of Quickdraw not hitting Vader on the first turn in last game or the 10% chance of the courier not living through the first turn in this game are unfortunate results of variance, but my setup and initial positioning in both these games has been subpar. I spent all of both games trying to overcome this self-inflicted deficit, in which a Squad Leader Biohexacrypt Code Muse would have been significantly more effective support ship.
Fortunately, there are still 4 rounds left to go to get a properly played game in. I’m hoping to get one more akin to the practice rounds in which all of Terrex’s calculates were used for Quickdraw while the courier has a turn or two to jam and block. Granted, even I don’t know if I’ll fly this list next round. I probably will as I do enjoy it and the concept of Quickdraw having the action or mod efficiency she wants in order to effectively operate. All the same, the lists on Tabletop.TO will be unlocked for one day on the 18th and I can be very impulsive when obsessed with a particular archetype.
