Before we get in, I must correct two errors from my last post. Apparently, I couldn’t remember the last point values of Tavson and Holo after my 2 month hiatus from the game. Tavson was 64 pt the whole time and Holo dropped only 1 pt to 53, not 2 pt to 53. It is literally the same difference: a -1 pt cost to the following list:
Kylo Ren (76)
Advanced Optics (4)
Ship total: 80 Half Points: 40 Threshold: 3
Lieutenant Tavson (64)
Biohexacrypt Codes (1)
Ship total: 65 Half Points: 33 Threshold: 6
“Holo” (53)
Proud Tradition (2)
Ship total: 55 Half Points: 28 Threshold: 2
Total: 200
View in Yet Another Squad Builder 2.0: https://raithos.github.io/?f=First%20Order&d=v8ZsZ200Z236XW186WWY289X202WWWWWWWY382X319WWW&sn=Unnamed%20Squadron&obs=

I literally would not fly this archetype without the clutch upgrades of Advanced Optics, Biohexacrypt Codes, and Proud Tradition…and now I can field the list with the 1 pt freed for Biohexacrypt! This unholy trinity of upgrades lets me not fear moving first at all despite the fact that I have only 1 Upsilon in my list. Optics + Force = full offensive mods at whomever I shoot, more flexibility with force and action economy as well as firing choices, and the occasional triple modded shot. Proud Tradition lets Holo pop a 5 K-turn behind whomever he dodged if moving last or jousted if moving first, perhaps charge through a debris cloud and focus, or get coordinated a focus the turn after a red maneuver. Biohexacrypt allow a clutch “panic coordinate” to the target (typically Kylo with his autothrusters), but also allows infinite range jam or coordinate after disengaging and during the long effort to swing the 4 die gun back in arc.
This is essentially the Kylo + Quickdraw + Tavson many were flying at World’s (but which I opted out of for Super Kylo instead), although it has a much higher skill ceiling, a higher skill floor, and lower variance susceptibility. Holo is much better than Quickdraw because his cost allows Kylo to take Advanced Optics, he can independently generate full offensive mods, take the evade action (for a fat token stack from the Upsilon), and he has more movement options and the boost action. Additionally and even of greater importance, he tosses a token every round: the insane flexibility I was rambling about earlier this year (particularly on the forums). He can toss the strain from his ship ability to Tavson, who dares the enemy to hit him. The strain or deplete could go on a blocking or an arc-dodging Kylo. Kylo can be a damage sink with an evade, focus, and 2 force, allowing him to spend his offensive mods liberally. A lockless Kylo can K-turn, receive a focus to charge his Optics, and retain full mods. Locks and tractors can be thrown on targets not taking any heat. The stress from a red maneuver could go on the blue-filled-dial of Kylo Ren, allowing Proud Tradition to remain on regardless the opponent’s willingness to take a crit or spend a green token to turn it off. If I can’t arc dodge the opposition, a good joust can be wizarded. Etc. Etc. Etc. And the best part about this? The insanely flexible ace/support hybrid with Proud Tradition is only 55 pt, and not even the linchpin of the list. There’s an 80 pt Kylo ready to blow things up and lock his points in a vault. Admittedly, this is not my original idea, given that this combination was talked about when the TIE/ba dropped. But again, I would not field this list without all the toys recently made possible.

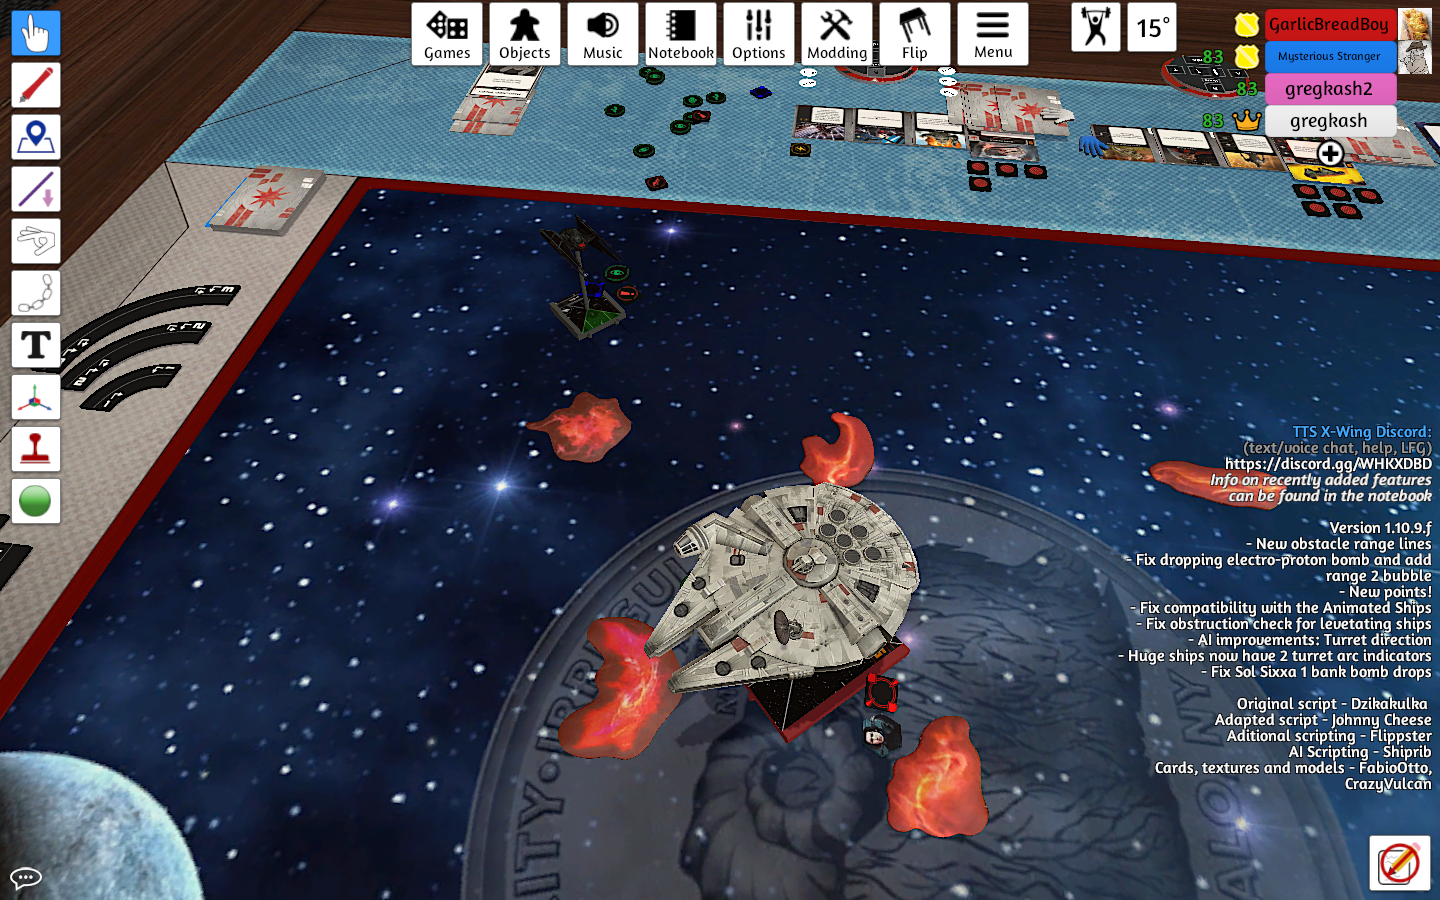
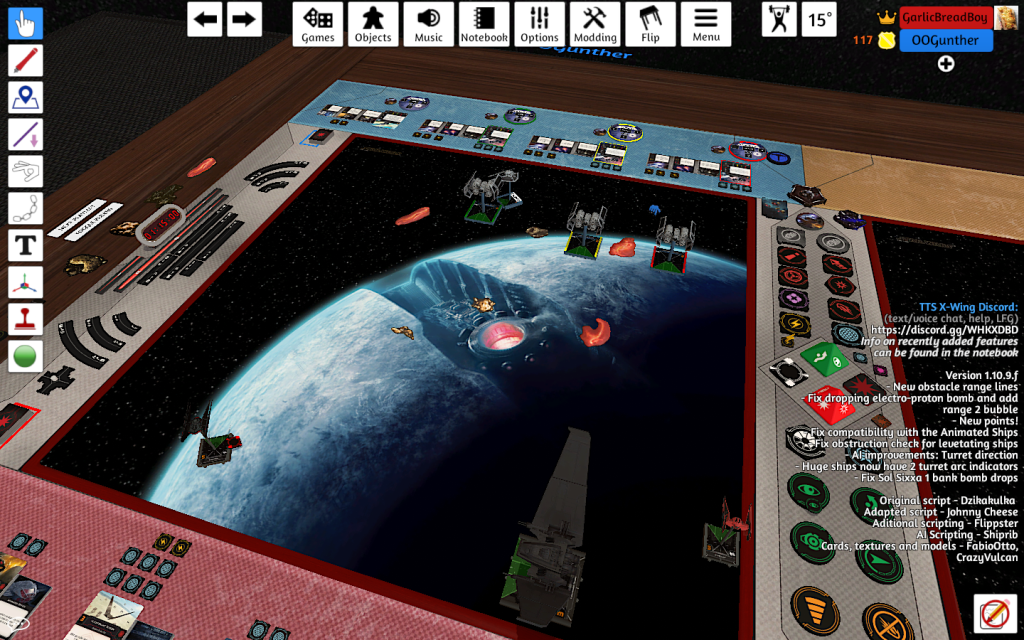
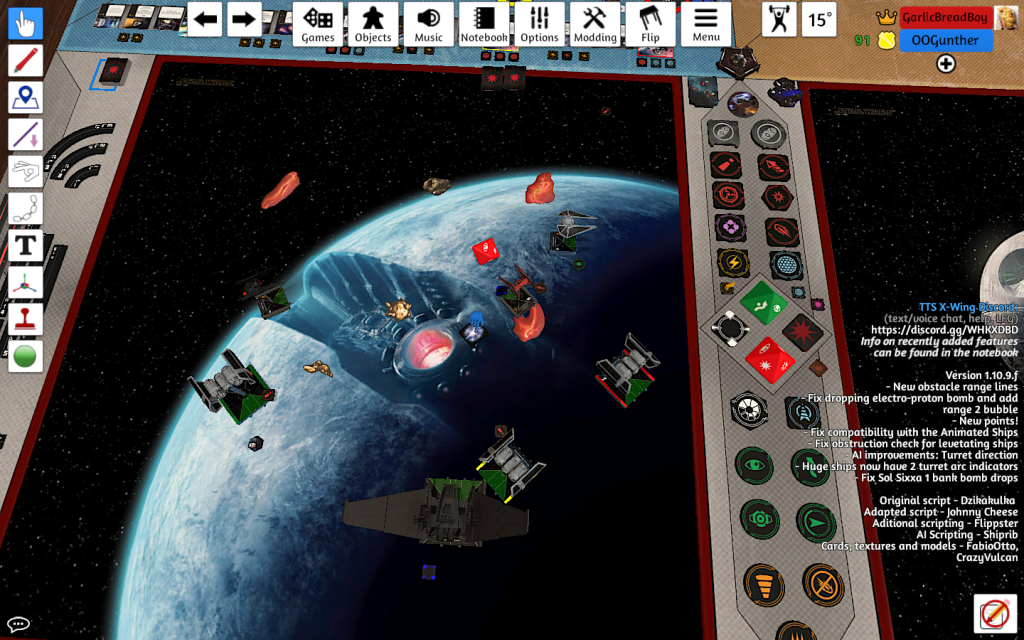
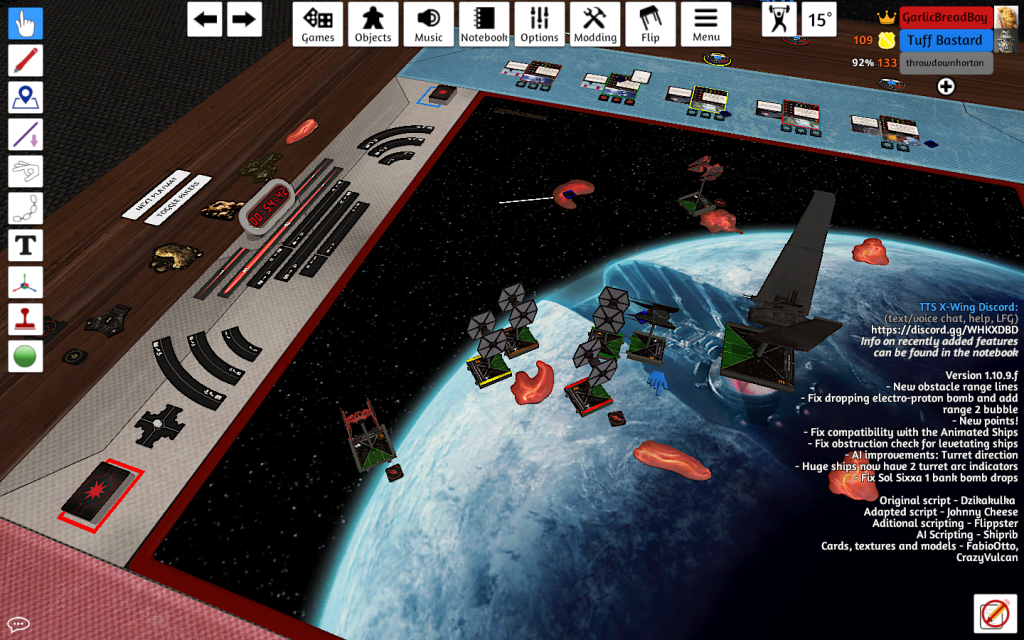
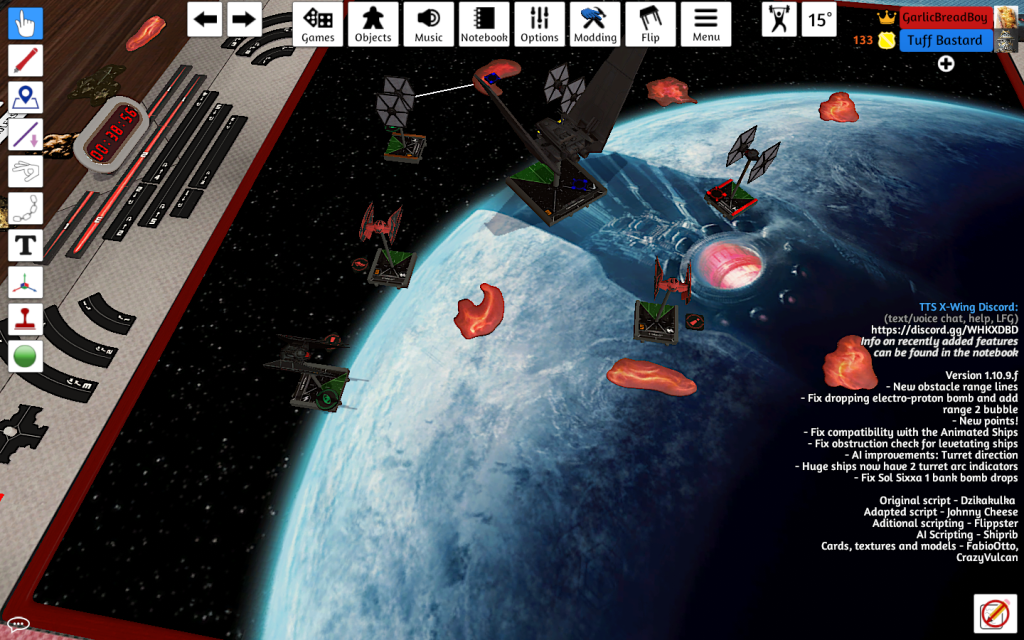
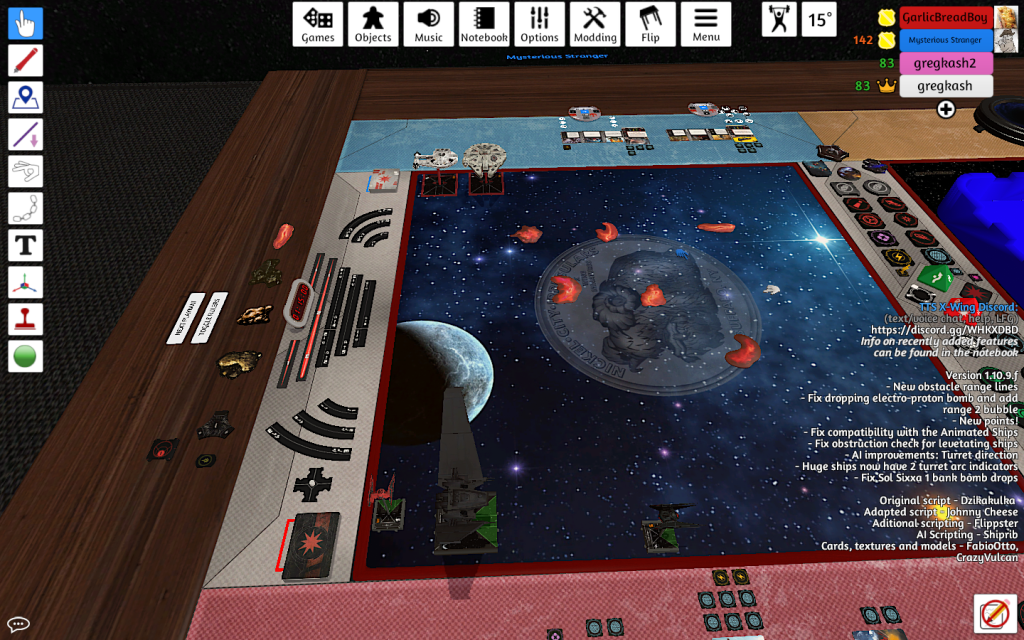
The perfect opportunity to field this list was this Sunday, run by the local organizers of Ontario X-Wing. A series of Tabletop Simulator tournaments has been arranged, the Battle of Ontario Tournament Series, because you can’t catch or spread COVID-19 from a bot! There are 4 tournaments, 4 rounds each. Each participant may partake in at most 2 tournaments, for the Top 4 of each tournament are invited to something even better than a cut: an entire new tournament! The series begins with tournament #1, BT-1. An impressive roster has lined up for the 16 participants, consisting of SpaceOwls (the talented and analytically-driven Bohan Li, X-Wing Blogger and Canadian National champion among other achievements), Cam Murray, Evan Cameron, Devon Monkhouse, and other top Canadian players. Don the flannel jacket with the headset, pour some Canadian whiskey with the energy drink, and try the new points in the new meta!
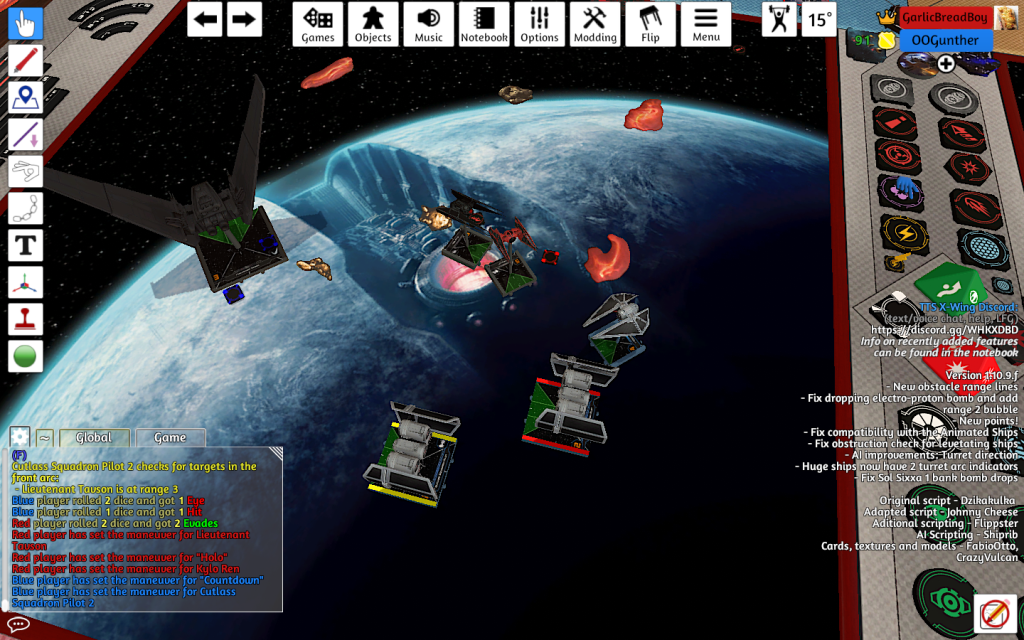
Round 1: Tristan
GALACTIC EMPIRE (197)
Cutlass Squadron Pilot TIE/ca Punisher (47)
Fire-Control System + Adv. Proton Torpedoes + Proton Bombs
Cutlass Squadron Pilot TIE/ca Punisher (47)
Fire-Control System + Adv. Proton Torpedoes + Proton Bombs
Cutlass Squadron Pilot TIE/ca Punisher (47)
Fire-Control System + Adv. Proton Torpedoes + Proton Bombs
“Countdown” TIE/sk Striker (56)
Predator + Proximity Mines + Hull Upgrade
Tristan’s list is an absolute swarm-slayer. The medium base boost covers a lot of ground, such that the Punisher’s native boost into a lock makes launching an Advanced Proton Torpedo at an I1-2 a matter most trivial. At close range, given base size and the bomb drop, a coordinated strike makes dodging proton bombs even outlandish and simply unfeasible for a swarm piece. This list should also do well against aces, considering that the Fire-Control System allows you to reroll a die against an ace that got out of range of the torpedo so that you can hold the lock and start focusing/simply boosting (plus bombs). Countdown is good, especially with mines, but I just kept thinking that a Soontir with even just Predator gives you I6 and a 4 pt bid. At any rate, he’s flying it, not me, and he’s probably more familiar with how he wants the list to fly.
I don’t expect Tavson to do too much damage here, given that the geometry and blocking capabilities of the speedy medium bases with either reposition can limit my arc-swinging and thus angles. Thus, the plan is to turn him in on the jousting portion of his list with Holo, see how long he can hold the angle, and then turn in on Kylo’s target to finish it off while he loops about as Kylo and Holo weave and tear.
Kylo Range 3 jousts Green, knowing that he will be hit only in 8% of the cases, with the max out of 2 damage being slightly over 1% of the cases. Holo gets coordinated by Tavson, strains to lock Yellow, and focuses for full mods, tossing his strain to Tavson. In the engagement, he takes a shield with Tavson untouched. But with red following up with a block on Holo and Yellow daringly blocking Tavson, no coordinate meant no escape, since the strain from the cloud turned off the TIE/ba ship ability. 2 shots sacrificed and 2 ships out of position in exchange for 1 shield and a Wounded Pilot on Holo is very much a fair trade. No further damage dealt, IIRC.
Knowing that I can’t maintain my arc on target meaningfully if I turn in, I turn out, ready to blast the incoming Green. Kylo swings by and lines his sights on green, with Holo locking and focusing. I rolled a hit on the Wounded Pilot, so I just used Proud Tradition to focus, fortunately not rolling a second stress. I tossed the stress onto Kylo and hid behind the cloud, safe from Countdown. After Kylo and Holo pounded green, Countdown held his punch when he saw that it modifying with the focus couldn’t hurt Tavson enough to guarantee Green’s death. Green died all the same with all those modded red dice incoming.
Tavson bailed, locking to charge Biohexacrypt codes on Holo. Kylo and Holo thread the needle to avoid getting shot by anyone. Holo locks Countdown, does not trigger Wounded Pilot, thereby opening him to repair the card. When Countdown spends his ability on Kylo’s heavily modded 3 hit red dice, Holo punches in 2 hits and a crit IIRC. Tavson swoops away next turn with a 3 bank and Biohexacrypt Codes a boost to Holo, which blocks Countdown’s maneuver but still dodges the Punishers. In tandem with Kylo, Holo’s 5K lines up the killshot on Countdown. When 1.5 Punishers remained on the board, Tristan resigned, thereby granting me the rest of his squad’s value as points destroyed. 200 – 28 victory. If Holo took the 5/33 chance of a Direct Hit from the second of those Proton Bombs, it would have been closer certainly, although I’d never count Kylo and Tavson out of a situation like that.
Round 2: Greg
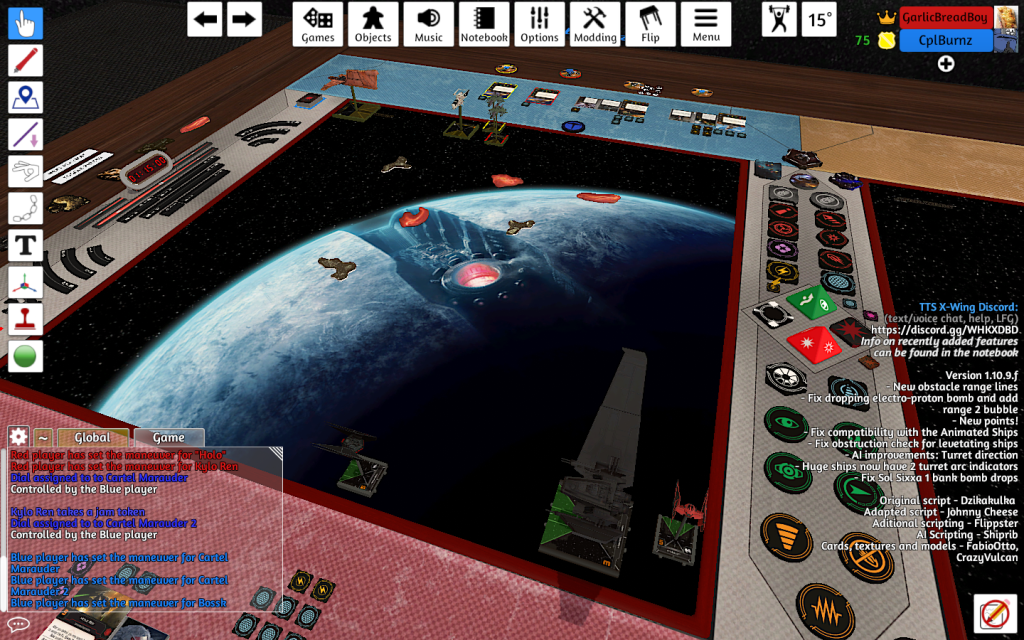
SCUM AND VILLAINY (200)
Bossk YV-666 Light Freighter (68)
Jabba the Hutt + BT-1
4-LOM G-1A Starfighter (56)
0-0-0 + Contraband Cybernetics
Cartel Marauder Kihraxz Fighter (38)
Cartel Marauder Kihraxz Fighter (38)
I must be careful with this list, for Bossk can annihilate an ace, even if he is not carrying 4-Lom or Zuckuss in his cabin. 4-Lom can block an ace, toss a stress to him, allow BT-1 to trigger on Bossk, thereby giving him the ability to change a hit >> crit (let it go uncancelled) >> convert it into 2 hits. It’s a Direct Hit! generating machine, especially with 0-0-0 and Contraband Cybernetics increasing 4-Lom’s power and flexibility. Cartel Marauders are essentially Scum X-Wings with worse shield-hull ratio and no boost available.
Given that 4-Lom is the main instigator in this list, I seek to kill him first, especially since a Jabba with no Illicits to recharge is a major feelsbad for the person fielding him. Tavson tries a diagonal middle joust, Holo flanks on my right, and Kylo completes the pincer on my left. OR DOES HE?????
The coordinate and autothrusters to Kylo before the maneuver allow Kylo to bait the enemy list to his end of the board only to juke away and not present himself as a target. Unfortunately, when we would engage, this would mean that I would have only 2 guns in the fights. Conversely, I think that cost is very justified if it dragged the enemy list into a corner with Holo and Tavson closing in. As predicted, Kylo yeets to the cloud and around, much to the dismay of 4-Lom (arc dodge) and to Bossk (obstructed after Bossk performed a wide turn in. Meanwhile, Holo and his support ship of Tavson engage with a tempting strain on Tavson and a focused Holo hiding behind a cloud. I fired Holo’s unmodded shot (saving the focus for defense through a cloud) against a range 1 Khiraxz and ate a shield, a nice bonus for arc-dodging. Tavson’s unmodded shot did nothing to the range 3 4-Lom (statistically a high probability) but even taking damage afterwards I am fine with the engage. Kylo is going to be behind 4-Lom, whose approach is blocked by the shuttle, Bossk is currently still wielding his clunky craft back into position, and the Khiraxz’s can’t really apply any real pressure to the aces.
The following round, Yellow blocks Tavson to try to lower his damage output. I’m not sure if that was the best of moves considering that with 4-Lom’s staying stationary, 4-Lom has just lost more guns on the only target he would be guaranteed to be able to shoot. Bossk runs over a debris cloud when he engages, thereby losing his ability significantly modify his dice. Kylo gets greedy and tries to boost in round the cloud to set up some madness for next turn, but 4-Lom’s position blocks him and thereby Holo’s flanking maneuver. These are outcomes I was fine with because that cloud as a positional failsafe basically turns my aces into Fenn Rau when at Range 1. Besides, if Yellow pursued the aces, the coordinate from Tavson could reposition Holo someplace interesting. Kylo will end up double stressed by 4-Lom at the end of the round, but I have some tricks up my sleeve for that. In the meantime, full mods from Kylo deal a delicious 3 shields to 4-Lom. Bossk being obstructed by whomever he shoots his dice that he could only BT-1 mod with gets effortlessly cancelled. Tavson’s range 1 shot into Bossk deals 4 damage, and 4-Lom and Red decide it’s time to hammer into the shuttle, granting him actions.
4-Lom is in a bit of flanked pickle, so the best he can do is stop and try to hinder my aces sufficiently for Bossk to wreak havoc on them. Yellow pursues Holo, blocking Tavson in the process. Kylo bumps into 4-Lom so he’ll exchange shots only with Bossk, and Holo hides behind the cloud and evades so he can gift Kylo with the green token. Kylo hammers into Bossk, whose desperate attempt to BT-1 shenanigan Kylo is thwarted by the evade and force, perhaps demonstrating the effectivity of the 4-Lom and Zuckuss crew on a heftier YV-666. Tavson’s locked Range 1 shot demolishes Bossk, while 4-Lom’s shot into him grants him the action of jamming Yellow, thereby saving Holo from having to defend against a modded shot.
Tavson, his work having been done, disengages and resigns to the role of a support ship, coordinating one turn and then locking to charge a biohexacrypt jam the next. Meanwhile, with Jabba no longer recharging 4-Lom’s Contraband Cybernetics, the droid must move, thereby allowing Holo to dance behind him while Kylo absconds until he is no longer double stressed. Once regrouped on the 4-Lom with low health, Alpha’ing the 1 agility ship meant the aces only had to dance about the 2 Khiraxz’s. It was only a matter of time before the inevitable: 200 – 33.
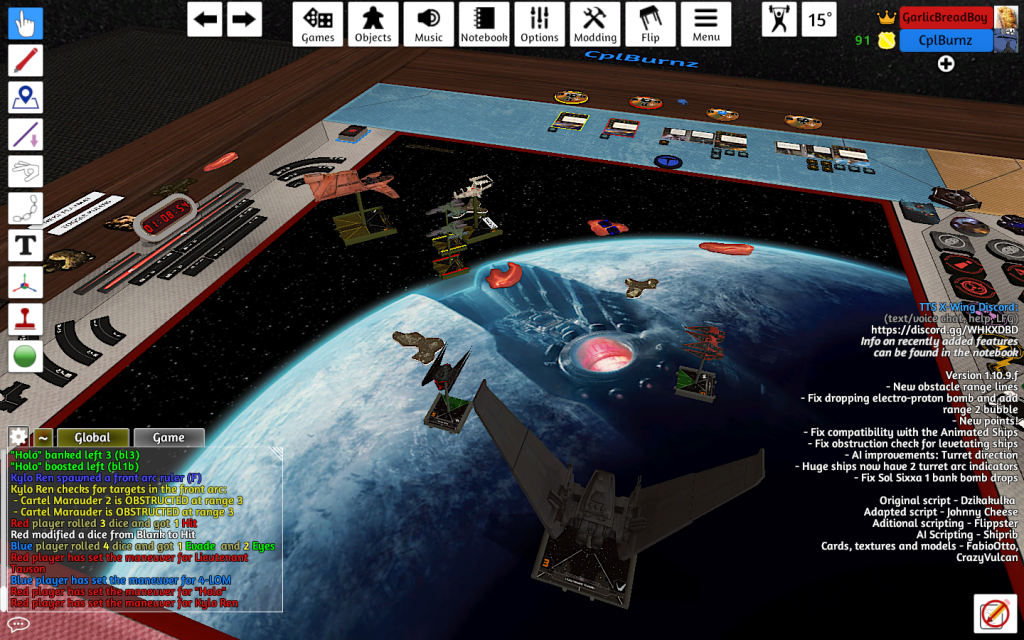
Round 3: Devon
FIRST ORDER (199)
“Holo” TIE/ba Interceptor (55)
Proud Tradition
Omega Squadron Expert TIE/sf Fighter (36)
Fanatical
Zeta Squadron Survivor TIE/sf Fighter (36)
Advanced Optics
Zeta Squadron Survivor TIE/sf Fighter (36)
Advanced Optics
Omega Squadron Expert TIE/sf Fighter (36)
Fanatical
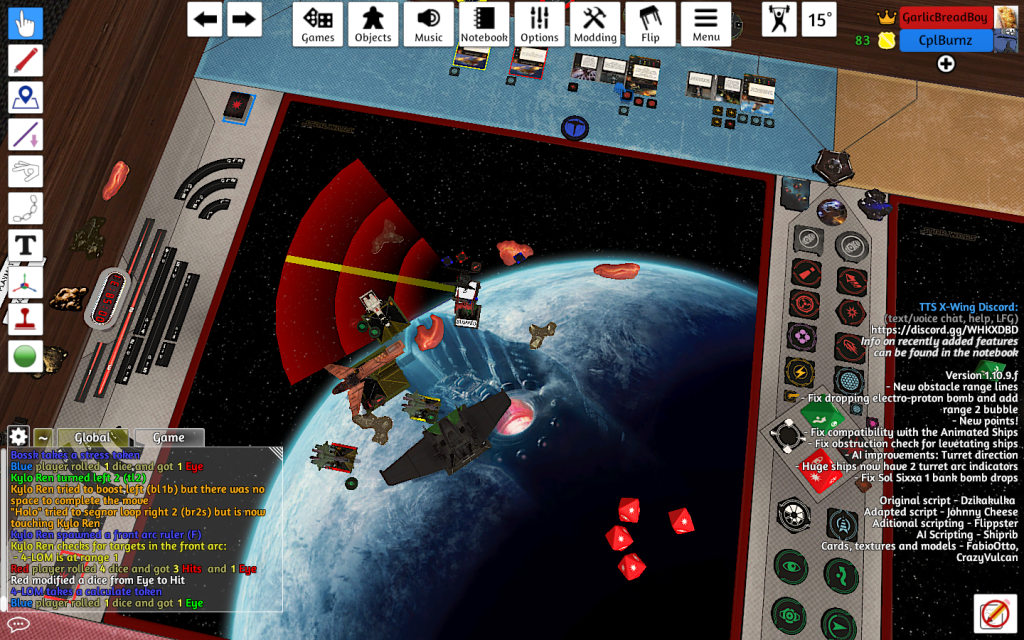
Devon’s list is straightforward. There’s Holo, and then there are plenty of targets for him to employ his ability. The TIE/SF’s make good Holo targets thanks to their beefy 6 hp and tendency to save focus for offense, thereby allowing Holo to make the easy decision to self-strain. Besides, this being a 5 ship swarm, most lists aren’t going to be firing on all the targets with simultaneous timing, and if they did, they would find themselves in a losing position considering the need to focus fire in this game. Furthermore, the rear arcs on the TIE/SF (because the turret is pointed backwards to be never rotated forward) give the craft excellent time on target, especially against my boostless, rearc-arc-less, turnaround maneuver-less, shuttle. I’ve played enough Tavson to know that he’s really just a support ship with a few 4 dice shots loaded into him*, but I really need to get what few shots he has in him to land. Holo needs to flank, Kylo needs to bait, and it is of highest imperative that a joust with Tavson be favorably generated.
*My complete history with flying Tavson in tournaments with a cut or an invite at the end: 4-2 at 2019 Indianapolis Hyperspace Trial (with Midnight and Blackout, MOV too low for cut), 5-1 in 2019 Evansville Hyperspace Trial (with Kylo and Thannison, 2nd in Swiss and going 2-1 in cut to lose in the final), 4-2 in 2019 Cleveland Hyperspace Trial (with Kylo and Starkiller Base Pilot, MOV too low for cut), and 4-1 in a 2020 Cincinnati kit tournament (with Kylo and Thannison, 2nd in Swiss, lost first round of cut). I think I know what I’m talking about when I say that Tavson is not mobile enough for any one of his targets, but just mobile enough against the whole, so long as he hangs back and leans into his role as anvil, area denial, and support. When it is certain no more shots of meaning could be taken with him, 3 bank him to zoom out to the other end of the board, charge biohexacrypt codes, and begin anew the process of engaging. Don’t delude yourself into getting greedy with the 4 die gun.
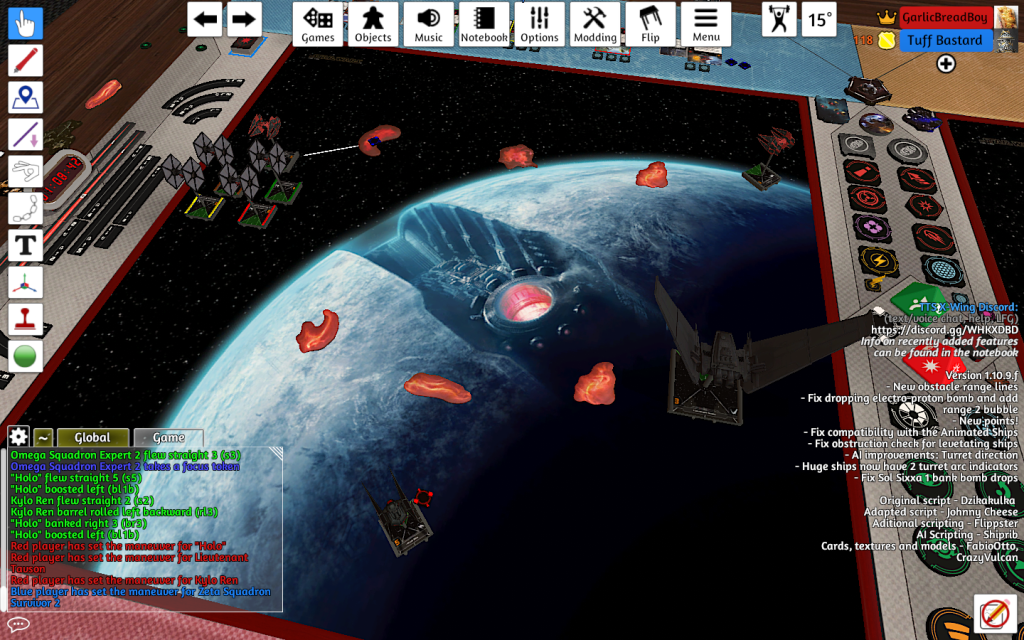
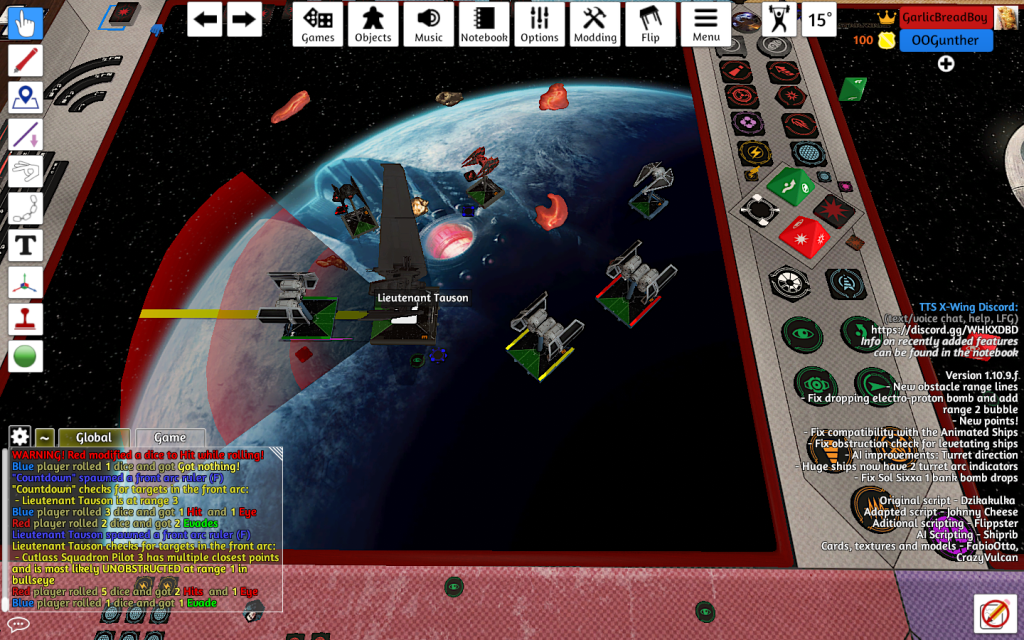
The swarm marches along my left flank, ready to chase Kylo away from his corner or massacre him should he stubbornly attempt to hold the angle. As they start to bank in towards the Supreme Leader, who performed a hard 1 starboard and boost towards Tavson, a range 3 potshot was sniped onto him. In order to dodge, both force charges had to be spent, which would affect the odds for my upcoming ploy. But my coordinating option would remain open by not having focused, and if all the TIE’s turned in from their previous 3 banks behind or through the corner cloud, Kylo stands at most a 33% chance of getting deshielded and a 9% chance of getting halved. That is unless of course, Holo chases Kylo instead of attempting the flank, which, when combined with my Holo and my Tavson, would result in a dead enemy Holo: not a good trade for most of Kylo unless unfortunate crits are landed. Thus, I can assume that if Kylo cuts in and jousts, he’ll be able to not care about the enemy Holo and help Tavson murder which ever TIE/SF happens to be closest.
Tavson coordinates a focus + autothruster roll to Kylo, whose hard 2 clears Tavson’s base and opens his action to a lock. Furthermore, Kylo is in a position to block Tavson on his own terms, such that Red, should it remain a nice looking target, can get shot instead of blocking Tavson. If Red doesn’t block Tavson, Kylo will. And given the geometry here, a block from Red will effectively be a white stop for Tavson. At any rate, Kylo takes the slightly unfortunate 33% and gets deshielded, but I do not care at all because the halving did not occur. Kylo and Tavson however deal 5 damage to Green and the insane speed of Kylo will make him bait that should not be fired at next turn. Again, the enemy Holo can’t afford to chase Kylo as of now because that would draw him into an unfavorable position relative to my pieces. This is certainly better than running off and trying to engage too late with the SF’s behind Kylo.
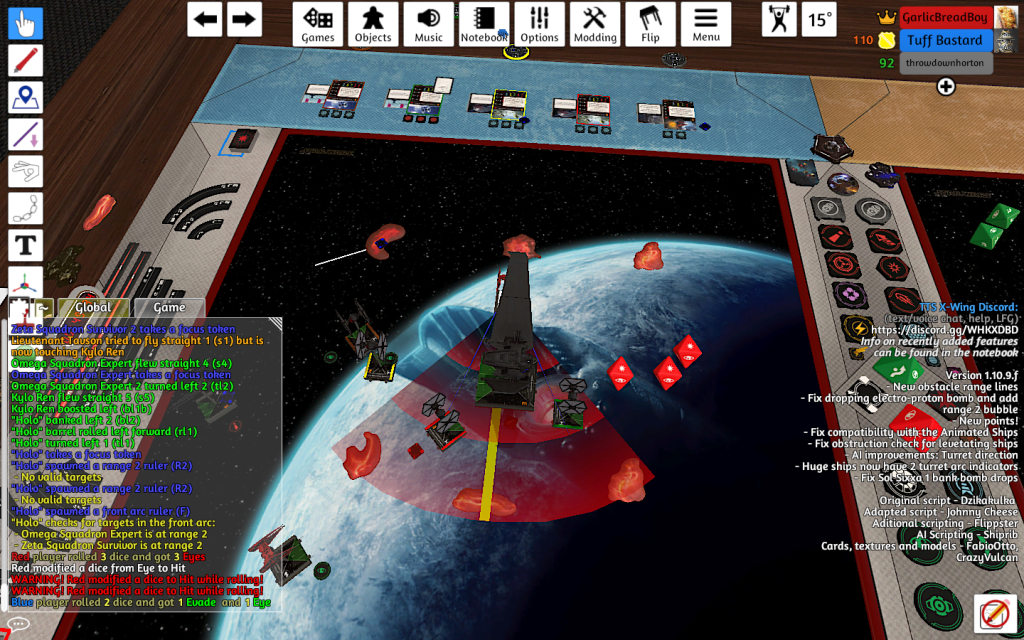
Green tries to get cheeky and Range 1 buttshot Tavson, but Holo alpha’s him off the board. Kylo’s lock on Holo may seem futile, but it is a free action because Holo will just toss the lock onto Red and when Kylo actually does shoot at Holo, Advanced Optics will grant him full mods regardless what Holo hopes to achieve. Tavson lays down the heat in exchange for a few points of damage.
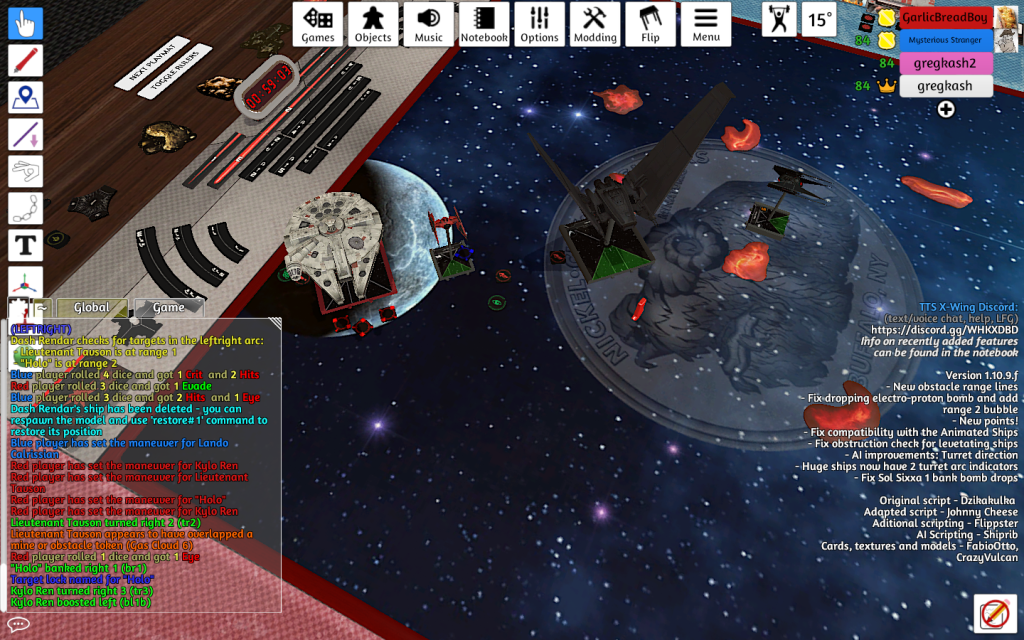
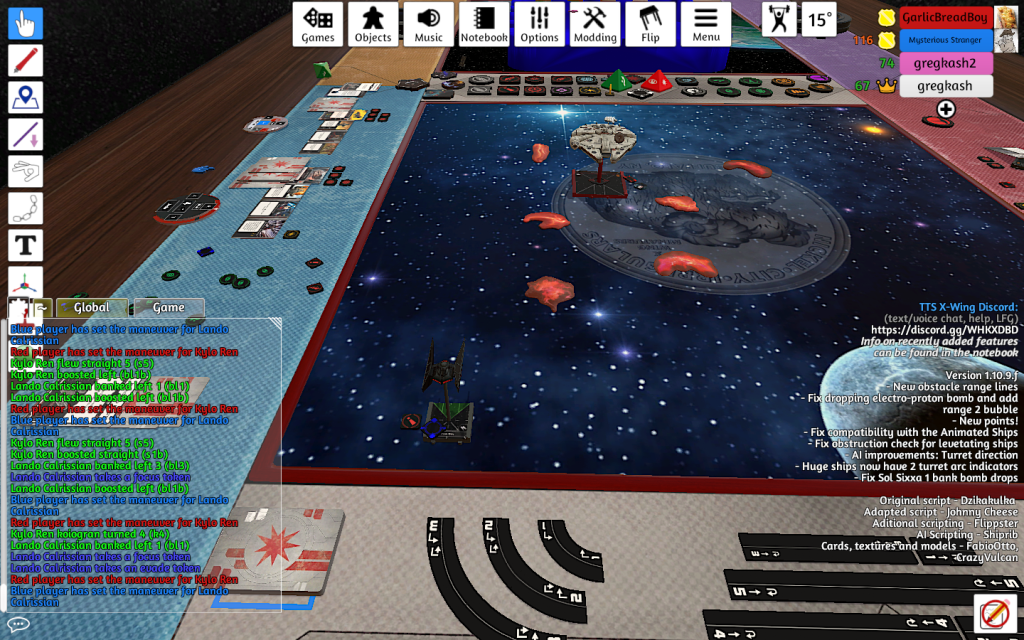
From then on, the threat of Optics + Force kept the enemy Holo on the run. My Holo’s charging Kylo’s optics with a focus was really cool because Kylo in the above pictured game state wanted to destress before chasing Holo, but would clearly lose his action from the gas cloud. Taking signifiant damage from the enemy Holo and SF’s, Tavson takes a TIE/SF off the board with some help from the aces. Now it becomes a limping Tavson and 2 aces versus Holo and 2 SF’s.
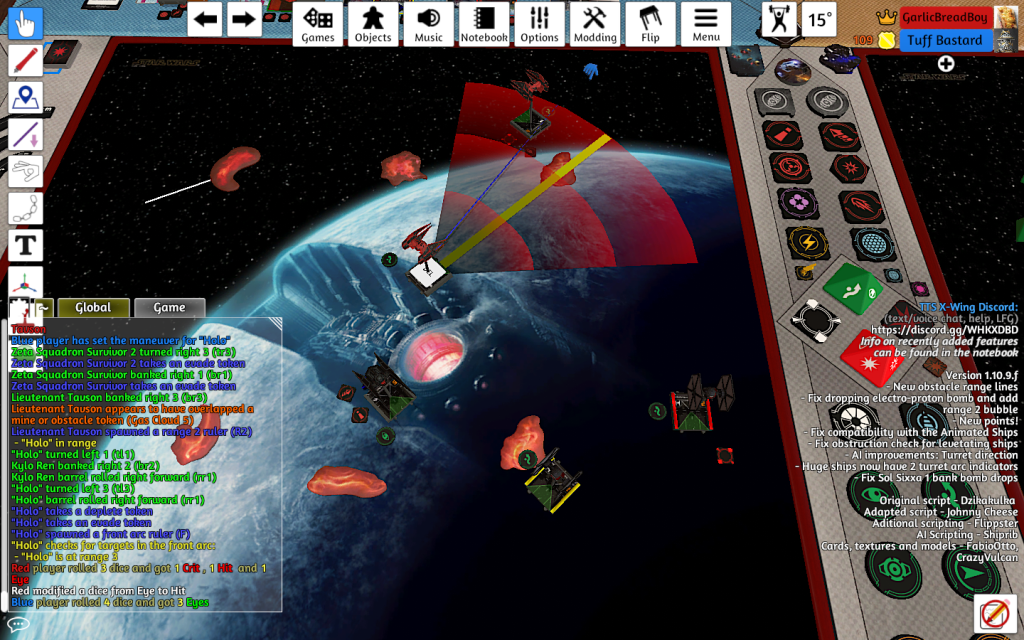
Kylo and his friendly Holo got some breathing space thanks to the kiting nature of the TIE/SF’s plinking Tavson and by my aces keeping the enemy Holo on the run by threatening his engagement routes. At some point during this process and trading shots with the SF’s, my Holo becomes half-pointed, but if it keeps the enemy ace at bay, I’ll take it for sure. I misjudged a bank with a Stunned Pilot Tavson and clipped the cloud by about 2 millimetres, but at least his death by cloud meant that he could coordinate to Holo. As Kylo persisted in plinking away at the TIE/SF’s, my Holo’s shot on his mirror eventually scored half points on the enemy ace. The game was even further cemented in my favor when the enemy Holo had to swing around to re-engage safely (ie, be warded off from engaging at all) while my ships left just one TIE/SF of the initial four on the board. My Kylo alone being worth more than the opposition’s remaining forces combined, 136 – 93 victory.
Round 4: JC
REBEL ALLIANCE (199)
Lando Calrissian Modified YT-1300 Light Freighter (94)
K-2SO + Nien Nunb + Millennium Falcon
Dash Rendar YT-2400 Light Freighter (105)
Bistan + Perceptive Copilot + Contraband Cybernetics
Dash looks to be the terrifying part of this list, and 2 modified 4-dice attacks per turn are quite powerful, but Lando is the secret sauce to this list. With the Millenium Falcon title, K2SO’s jam capabilities, and a free calculate nearly every turn thanks to Nien Numb rendering K2SO’s stress near-irrelevant, Lando lives a very long time and punches heartily. I can 1 v 1 this Lando with Kylo as I have in the past, albeit always moving second in these precedent cases, which thus means that Dash has to die ASAP. Besides, aside from the 4 dice gun, Dash is just a 10hp 2 agility ship, which can vanish in flame to some intense focus fire if caught, especially if he is saving his focii for his double-tap.
I was initially surprised by JC setting up so as to joust my corner, but upon a moment of thought it made sense. If a boostless ship is kiting an Upsilon, the Upsilon will perform the lion’s share in the task of devouring said kiting ship. If a turret ship gets behind an Upsilon, however, then the shuttle and its scary gun are made irrelevant for immediate combat purposes. So by lining up for a joust, JC was hoping to zoom past my formation or peel into the clouds halfway and pick at me. To counterplay, I plotted to have Holo block Lando while fully modding against Dash, Tavson lumber ominously nice and slowly, and Kylo zoom in to score some Range 1 action. Unless desperate, even if Dash has me in arc, he’s not going to waste one of his at best single-modded precious shots with a 3v3 on my defensively modded Kylo, especially with my option to throw Kylo an evade. Besides, if there is no joust, I can chase a kiting YT2400 with an Upsilon.
I turned in hard 3 with Kylo and boosted and ventured slowly with the other 2 ships. The Rebels charged up, but my careful observance of The Rule of 11 Bases meant that any potential shots were out of range. A round 2 absolute mayhem of a bloodbath was guaranteed. Tavson coordinates Holo, who then locks Dash and focuses, and tosses the tempting strain onto Tavson when combat begins. Kylo zooms up and focuses in case Dash holds back. Lando’s slow move does not get blocked, but the positioning means that he will be blocking Dash because Kylo is blocking Dash’s final position. The best Lando can do is use his ability to give Dash double focii and to lock Tavson. Kylo’s 4 dice double mods and Holo’s 3 dice double mods deal a combined 5 damage to the Dashole. The evade is good enough for Holo to dodge Dash’s single-modded shot. Desperate to deal some damage in this game, the already half-pointed Dash decides to cut his losses and shoot Tavson. Lando deals some more damage to the shuttle. Ironically, Dash’s gambit increased his losses as Tavson’s now-fully modded shot deals 4 damage to Dash, leaving him limp on 1 hp.
The following round, the shuttle hard-2’s to try to force Dash’s maneuvering and to strain caddy for Holo. Holo hard 1’s, to keep his arc on Dash and to hopefully block Lando off the board. Kylo enters the obstacle course to either block or dodge Dash, taking this off-turn to lock Lando for potential triple mods later. Lando’s 3 hard barely keeps him on the board and Dash resigns himself to fate, dying to Holo and then firing his missing range 3 shot on Holo and tagging Tavson with a 3 die shot, since Kylo is out of arc. Lando halves Holo.
Holo saves his focus for defense when he trades fully-modded range 1 shots on the tanky smoothtalker, but he is killed by the range 1 shot. Tavson attempts a block and jams the calculate off Lando, but Lando’s weaving out allows him to not get blocked. Since Lando can’t boost out of the shuttle’s arc, he uses his ability and his action to focus and lock and hope the alpha on the 4hp and strained shuttle works as probability mathematics predict it will. Kylo pounces on this opportunity to punch 3 damage from a snipe on the evade-less Falcon, while Lando successfully kills Tavson. I have now lost the lead, but I still like my position. One good exchange with all this time left is all I need to halve Lando.
Kylo’s hard 2 focus + autothruster roll mean that Lando’s slow move can’t get out of arc. K2SO might be great on Lando, but it makes him a tad predictable, especially since going slow would have scored an unretaliated range 1 shot on me if I decided to boost instead. The Falcon evade cancels a hit, but the 2 hits and the crit are alone enough to halve Lando. With the crit being a Direct Hit!, that’s just icing on the cake. Lando’s calculate and lock are the very reason I take Advanced Optics on Kylo whenver possible: he nattied a hit and 3 eyes, did the mathematically correct choice and spent the lock on the three eyes, and rolled 2 more eyes and a blank IIRC. Time to hard 2 and double reposition behind a cloud so that all his mods are meaningless!
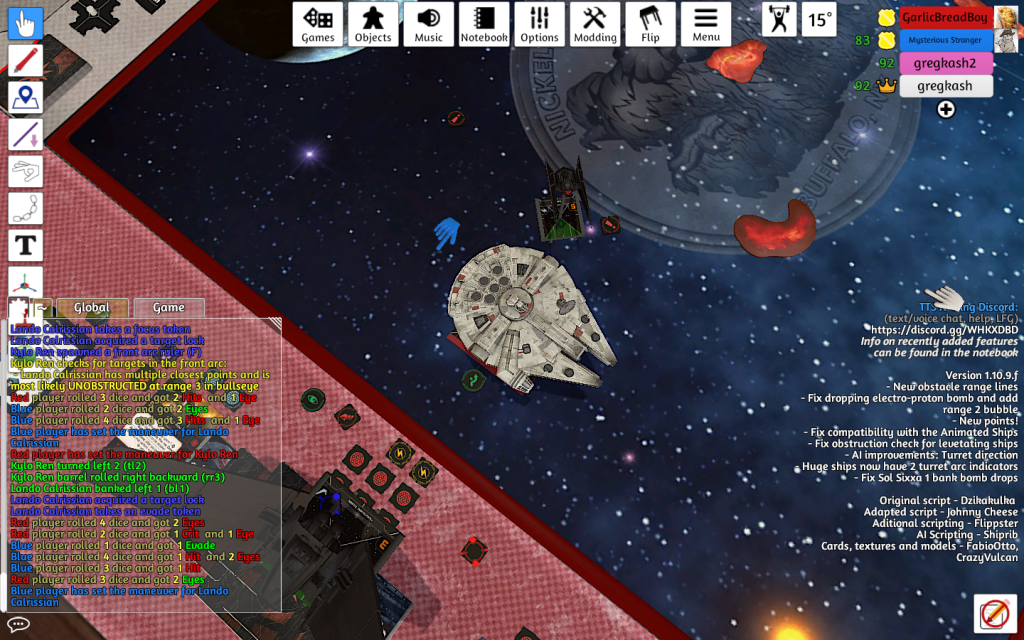
Now firmly in the lead, I can dance for ages to generate a favorable engagement (since running away forever doesn’t work on big bases with boost moving after you), taking shots only when they are obstructed, when Lando has a range 3 and has to rotate, and when I have shots (which are better) thrown his way, be they range 3 or obstructed range 2 shots. The clouds are insanely good variance protection, allowing me to position such that I can lock on an off-turn even when I’m not blocking, let Lando overshoot as I detach and range-dodge the opposite direction, and reach the clouds on JC’s side of the board. In this jungle, I can more easily predict Lando’s moves, K-turns the board edge to be more aggressive, and use the combination of bank maneuvers and autothrusters in order to trade shots, unless he wants to arc-dodge but end up only with obstructed shots on me.

Kylo and Lando traded range 3 shots and thus scored 1 damage apiece on each other. Kylo zoomed down along JC’s side of the board and then K-turned, setting up the same engagement. By the time Kylo was again in the position shown in the screenshot again, he had pulled the lumbering Lando into his favorite part of the board once more. Forcing an engagement gave Kylo an extra 2 damage onto Lando in exchange for his other shield. Performing a simple 2 bank and locking let him recover force and charge some mods for the final engagement, all while blocking Lando. Kylo’s K-turn put Lando in an inescapable range 1 engagement on 2 hp staring down the barrels of the Supreme Leader’s cannons. His only hope was to jam and lock. Kylo scored the 2 damage needed on his 4 dice modified by force and lived with 3 hp after Lando’s parting shot landed. 200 – 160 victory.
Although this was the final for a Canadian-run event, this game was streamed by Gregkash’s NickelCity X-Wing Twitch channel (link here to the Buffalo, New York miniature gaming channel: https://m.twitch.tv/nickelcityxwing/profile). Out of curiosity I watched the match with chat replay on. I was utterly flabbergasted by the sheer number of comments people posted about chasing Lando: he’s a big base. With blue 3 banks. With big base boost. Contrary to oversimplified viewer assumption, chasing Lando will result only in me getting shot without being able to land shots because I have starting player. You can’t “just get behind” a turreted ship that will guarantee have a focus mod and a lock and can even lazily rotate on top of that if it doesn’t want to boost. The geometry of the situation means that I just can’t cover all of the positions he could boost towards at once without making myself immensely vulnerable to the position he for certain would be when he doesn’t boost, not when the board edge, clouds, or my ship are not able to block his boost options. Even if he didn’t have the boost, I didn’t want to engage with Lando in a fair fight because getting halved would mean that I would have to kill him and that would put JC in control of the situation. Besides, who hasn’t been destroyed by perpetually blanking green dice repeatedly in tournaments, often for performing low-risk maneuvers?
Conversely, dragging Lando into a corner repeatedly would mean that I have a massive amount of control over my variance. Additionally, patiently waiting to joust him head on would make it impossible for him to escape my hyper-modded dice and turn that turret of the ship from a considerable advantage to somewhat of a liability. Plus, with Lando dealing next to 0 damage on Kylo per strafing run under my rules of engagement and having to re-cycle through the entire board in order to safely re-engage Kylo, JC will be pressed for time and perhaps make suboptimal decisions, even if Kylo’s dial is more often than not the first one down thereby indicating my refusal to be boring and slow play. This Lando can tank, and you don’t get greedy or impatient with him if moving first if you want to win. Besides, point fortresses like the mobile Kylo or the durable Lando–both with their plethora of dice mods for offense and defense–win and lose especially hard based on who is half-pointed. When chat realized that I was mitigating the possibility of a miracle in JC’s favor, they started to catch on and understood the play, even if they thought it was cold-blooded. I’m not cold-blooded; green dice that ruin brilliant moves are. Green dice that ruin stupid and impatient moves aren’t cold-blooded, that’s just getting what you flying deserve. If I’m flying a low-variance list with token-tossing, double mods, and hyper mobility, I’m not going to give variance more room than it needs, and the footage that you can find there will indicate that.

Fortunately, I was extremely lucky over the course of the day because my bad rolls were only in positions that made them not matter or not matter too much! I ended up first with very high MOV (1222 with a strength of schedule of 0.63)! Having made it into the Top 4, I can no longer play in the other BOTS, but we in the Top 4 are invited into the BOTS invitational championship! Those upgrades were clutch, with Holo’s possibility of Proud Trad keeping enemies on their toes as well as granting Holo 4 red maneuvers with a focus action over the day. Biohexacrypt codes were triggered a major 5 times over the day. I did not keep track of how often I used Kylo’s Advanced Optics.
I am interested in the various lists concocted for this event (featured here: https://listfortress.com/tournaments/1803). SpaceOwls and his runner up of 6 Nanteces, all with Crackshot and half with Predator, is terrifying when flown in his competent hands (his loss was on some unfortunate variance to Devon IIRC). JC’s Dash + Lando still finished with strong MOV in 3rd and will annihilate any swarm or list that leans too hard into any single archetype. Ben’s Rebel Salad in 4th that wields an immense amount of flexibility features the possibility of an infinite-regen token-stacking Wedge. I’m sure that it is proof that standard Rebel squad building is by far not dead, although I thought RStan’s Crossroads list already proved that (but everyone insists on the contrary). Tristan’s swarm slayer pulled it up to 5th with 3-1.
That will aboot dew it for today, eh?
